
Photographer Checklist
Photographer Checklist
Equipment List
Full Frame High-end camera
Flash Trigger for your brand camera
VND Filter 2-5 stop
Tether Cable
Laptop
Tripod / Monopod
Extra Battery/s
Camera Setup
Make sure the time is set correctly on your camera. This is really important so that participants can find their photos. To set the time on your camera please pair it with the official time at your location: http://www.timeanddate.com/worldclock/australia/. Choose your location on the map and it will give you the exact time.
Photographs should be Medium JPEGs. Make sure that each photograph has a file size between 7 and 8Mb. Please do a couple of test shots with similar camera settings prior to the event make sure that the file size is between 7 and 8 Mb.
Set up the picture profile on your camera so that your photos are ready to go straight out of camera.
Camera Profiles
-
Fine Detail Profile:
Strength: 4
Fineness: 2
Threshold: 1
Contrast: 1
Saturation: 1
Hue: 1
-
Rich Tone Portrait:
Quick Sharp: 0
Sharpening: +2
Mid Sharpening: +1
Clarity: +1
Contrast: +1
Brightness -1.5
Saturation +2
Hue: -2
-
Standard Profile:
Contrast +1
Sharpness +1
Saturation +1
Pre Shoot Day
Photolink
Windows 64it: https://www.netlife.no/software/install/?d=NetlifePhotolinkPro3&s=windows-x86_64
Mac OS (Intel 64bit): https://www.netlife.no/software/install/?d=NetlifePhotolinkPro3&s=macosx-x86_64
Mac OS (Apple M-series): https://www.netlife.no/software/install/?d=NetlifePhotolinkPro3&s=macosx-arm64
PhotoLink
Step 1
Install Netlife PhotolinkPro 3
Step 2
Access Login setup area
Step 3
Open Photolink and access Setting via
NetlikePhotoLink > Preferences

SetUp Working Directory.
This Automates on a make into your User files
Than fill in Portal Site as shown in image below.
Your Username is your email and Password Will have been supplied via the briefing email.
Step 3


This one is simple scroll down and mirror what you see in the below image.
Step 4
Once done, Save setting in the bottom right corner (Save Setting)

Check your online. Look at bottom right of screen there should be a green dot with word online beside it.
Step 5
At this point you should be able to see you job in the window. for now leave it till shoot day.

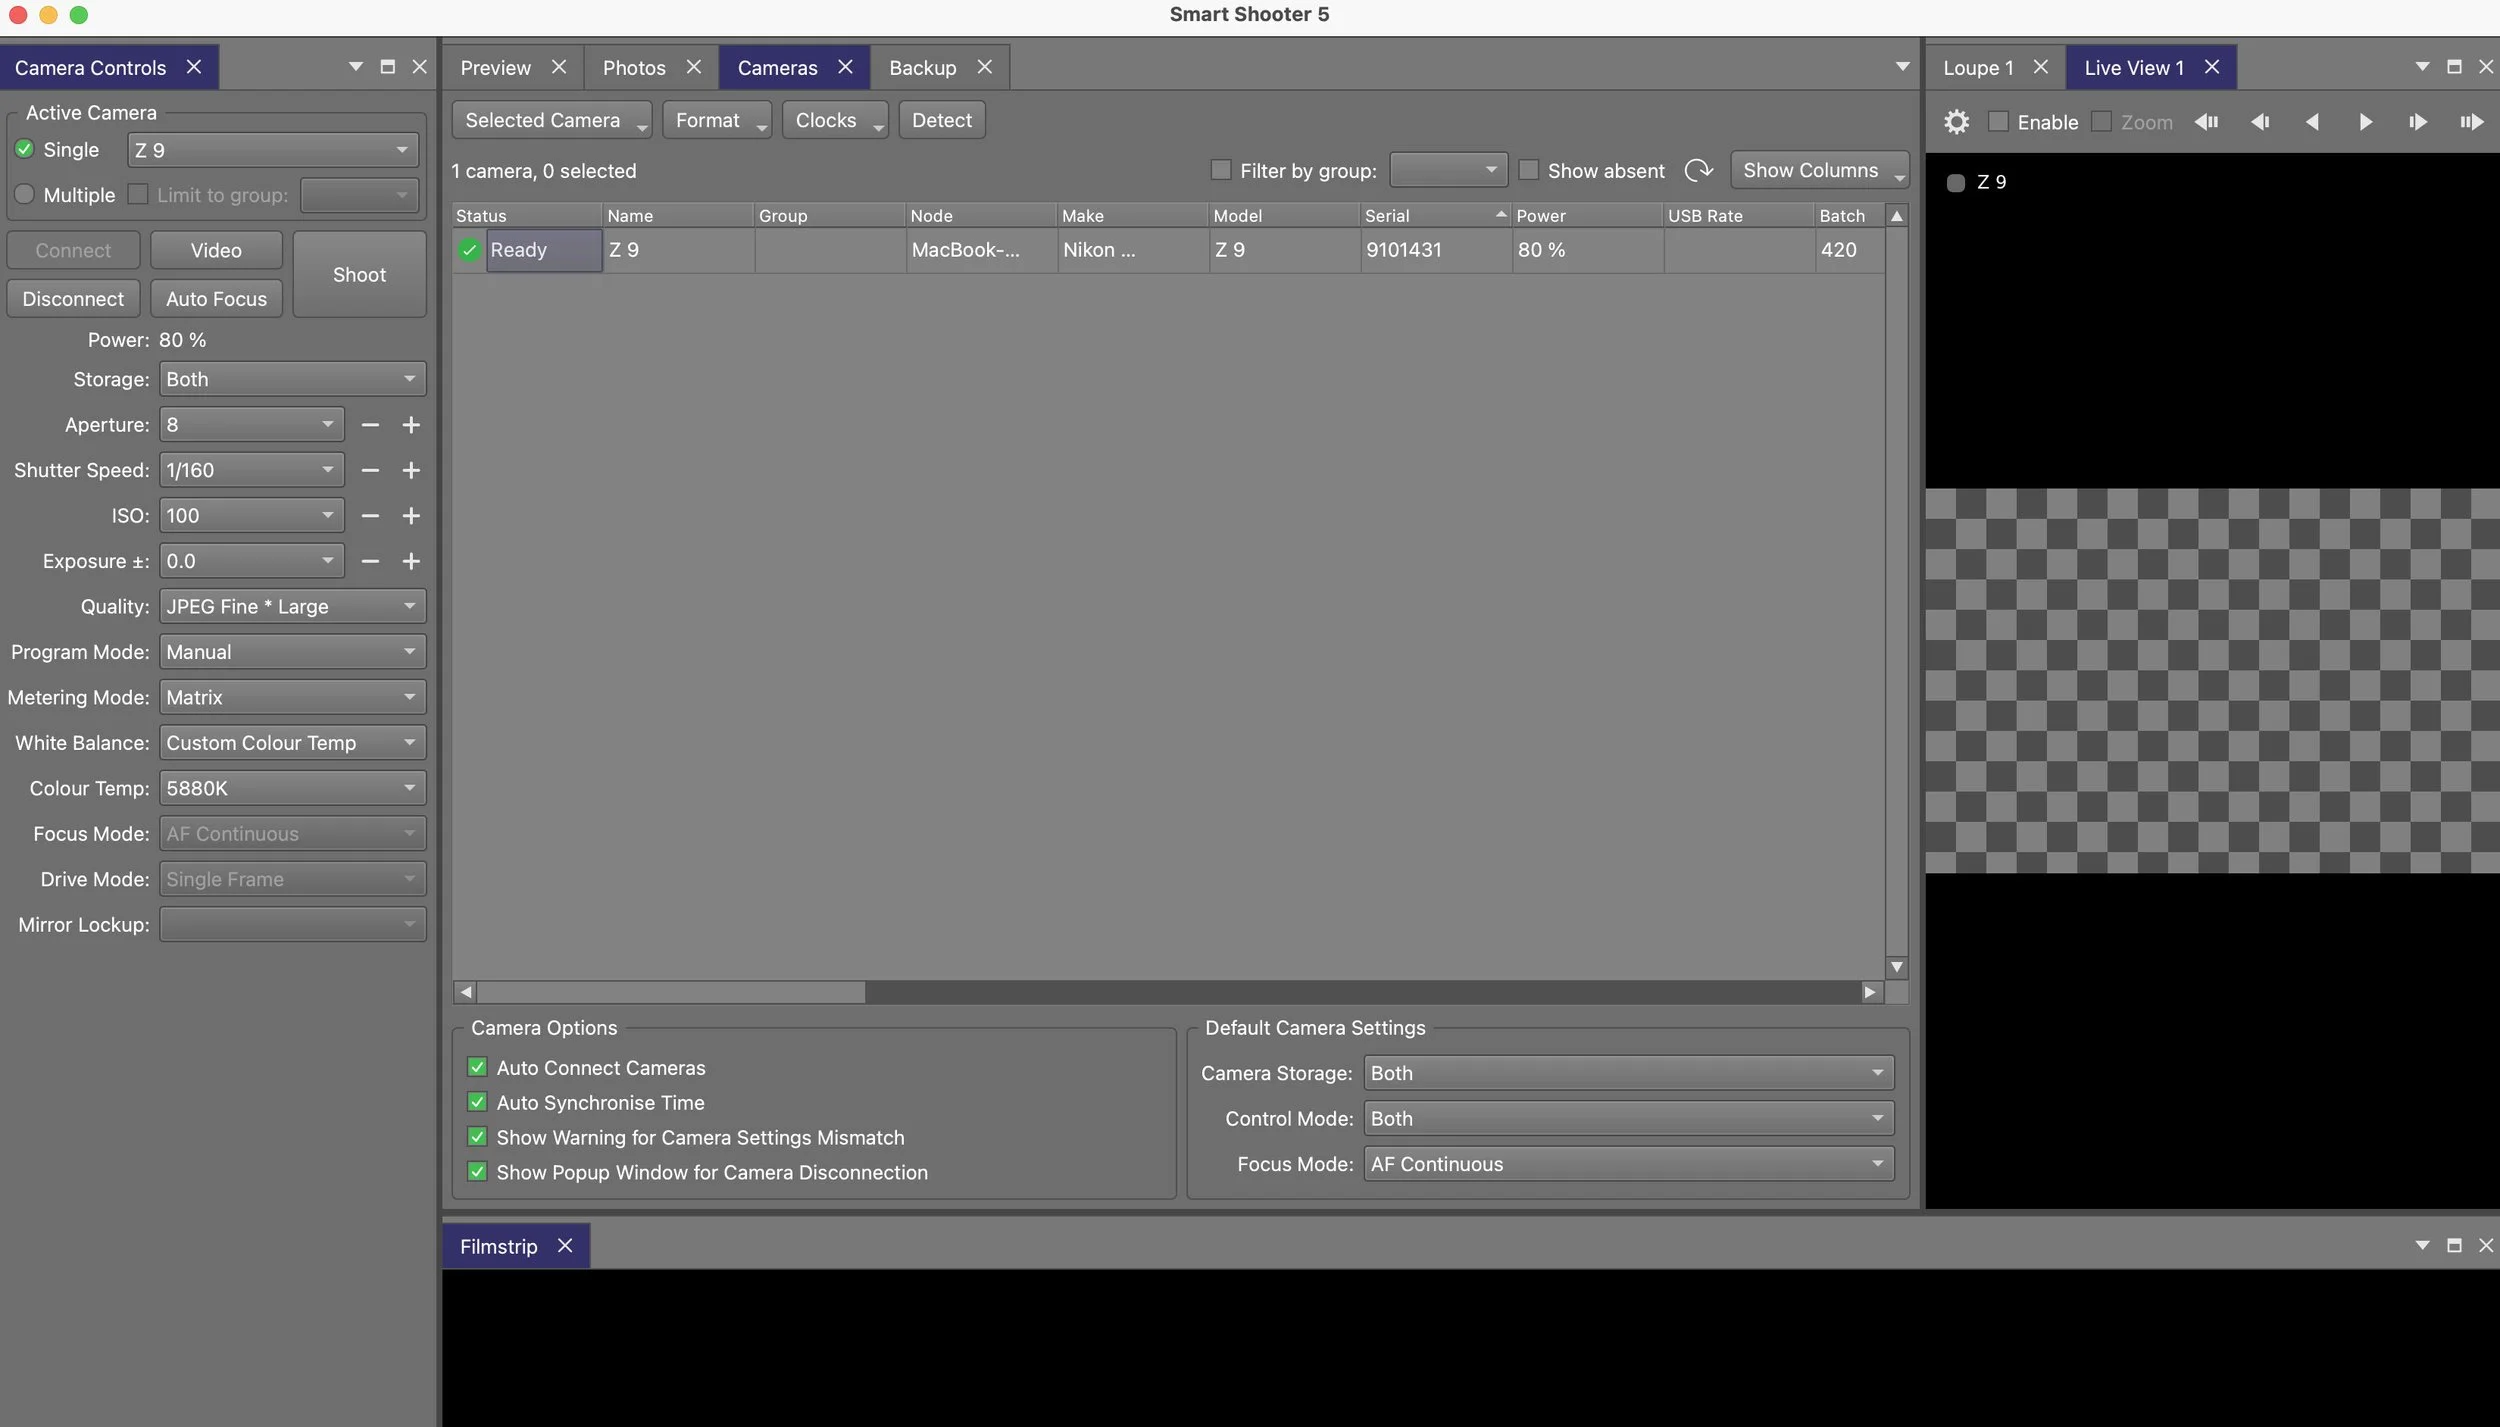
SmartShooter5
Install Smartshooter5
Step 1
Step 2
Open up SmartShooter5 and access Preferences

Step 3
Step 2
Step 4
Step 5
In the photo download directory click, Select and located the Spool folder in netlife.
Search this to find it. NetlifePhotolinkPro/Spool
Select Spool Folder. (This is where all the images will be placed during the shoot.

Make sure you Check the same boxes as shown in image above then select apply, Followed by OK.
Check all these camera options and toggles are set to match image below.

PLug in Camera via tether cable and make usre it turns on like image below.
Thanks for setting that up in advance of shoot day
On Day Reference
Hey team,
Below is a quick reference guide on how we’d love you to shoot both individual and team portraits. Our goal is to deliver high-quality, consistent imagery so that every athlete goes home with a curated gallery that reflects their personality and team pride. You’ll find a lighting diagram and camera settings included to keep things simple and aligned. Rachel and/or I will be there to help set up the studio spaces with you on the day, and we’re always around if you’ve got any questions.
Team Portrait
Shot in Landscape
Focal Length: 35mm
Shutter: 1/125 to 1/200
Aperture: f9 to F11
ISO: 200
Camera Setup:
Sitting groups
You can utilize anywhere from 1 to 4 rows as needed for optimal arrangement. We request that there be no more than 8 individuals positioned in the front row, ensuring a clear and engaging view. Additionally, coaches should be strategically placed on the sides of the players to maintain a well-organised and professional appearance in the portrait.
If you have one row plase make them all stand.
If you have two rows front is to be seated on stool bench or chair and back row standing.
If you have Three Rows, front is to be seated on ground, row to seated on stool bench or chair and back row standing.
If you have four rows, front is to be seated on ground, row two seated on stool bench or chair and row three standing. and row for standing on lift boxes.

Framing reference
Lighting Diagrams:
Lighting Diagram for Indoor setup or confined space


Lighting Diagram for Outdoor setup.
Individual Portraits
WHen working with Juniors please make sure all subjects are smiling parents and clubs want happy athletes/children.
For Teenagers and Seniors they may rather look “Strong” and that is fine but we do require at least one shot of them smiling happy.
PLease follow the supplied photo guide you will see upon working within Photolink we require all 5 poses for every subject and each subject has around 1 minute.
Camera Setup:
Shoot of a tripod or monopod as to keep framing consistent
Shot in Portrait
Focal Length: 50mm
Shutter: 1/160
Aperture: f8
ISO: 100

Framing reference


Lighting Diagrams:

Lighting Diagram for a two light setup.